Step-by-Step Guide: Changing Your Car Battery Safely and Cost-Effectively

Car battery plays an important role in the operation of the vehicle. It is responsible for many functions like ignition, powering lights and other electrical functions. Therefore, it is important to ensure a well-maintained battery for optimal performance. Fortunately, changing a car battery is a simple task that you can easily complete at home, eliminating the need for expensive visits to mechanics. With just a few tools, you can ensure that your vehicle runs smoothly and efficiently.
Here’s your step-by-step guide to replacing your car battery and helping you save repair shop costs.-

Step 1: Locate the car battery
Park your vehicle on a level surface, turn off the engine and remove the keys from the ignition. Allow the engine to cool before locating and handling the battery. Most car batteries are located in the engine compartment, either at the front of the vehicle or under the bonnet on the driver’s side, mounted on a plastic or metal tray. In some cases, the battery may be located in the trunk at the rear of the vehicle.
Step 2: Locate and disconnect the battery terminals
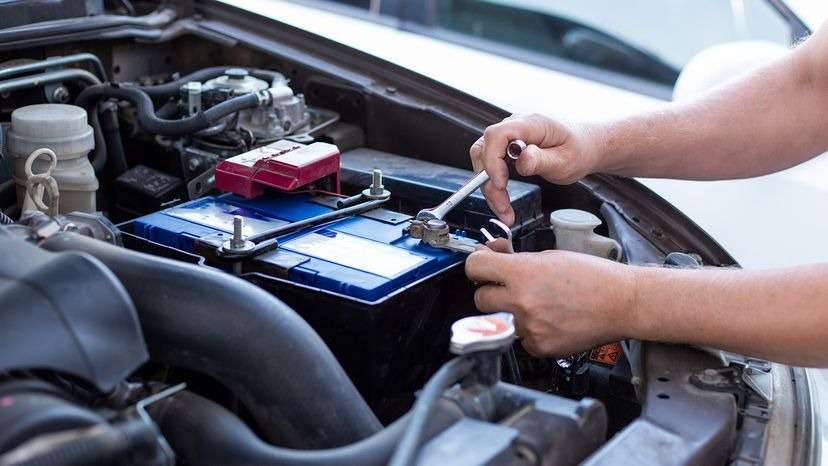
Identify the battery terminals, including the positive (red) terminal and the negative (black) terminal connected to the cable connectors. Using a wrench, loosen and disconnect the negative terminal cable first, then remove the positive terminal cable. Wear work gloves and eye protection to prevent accidents when handling terminals.
Step 3: Remove the old battery
Car batteries are usually secured with a hold-down metal clamp. Loosen the bolts or nuts securing the clamp, then carefully lift the battery out of its compartment. Maintain the battery in an upright position during removal, as it contains caustic liquid.
Step 4: Clean the battery tray and terminal connectors
After removing the old battery, thoroughly clean any corrosion from the battery tray and terminal connectors using a wire brush or terminal cleaning tool. You can also use baking soda paste for cleaning.
Step 5: Place the new battery and reconnect the terminals
Place the new battery in the tray, making sure the terminals line up correctly with the car’s terminals. Lower the battery securely onto the mounting shelf and reattach the hold-down clamp, tightening the bolts or nuts. Reconnect the positive cable to the battery first, then the negative cable. Apply battery anti-corrosive protection gel or protective field washer to both terminals if desired.
Step 6: Test the connection
After installation turn on the headlights of the car to check if the battery is working properly.


